Please note that the Soils Site Reporter application has recently been updated. Our old application, which served
us well for many years, had gradually grown out of date and incompatible with new browsers and web technologies
so we've rebuilt the reporting tool completely, from the ground up. We hope you'll bear with us for the first few
weeks while some new functionality is added and any small bumps are ironed out. Hopefully you'll appreciate the
smoother and more intuitive interface. Our new application also gives us a platform for adding new features,
developing the capabilities of the Soils Site Reporter and further integrating with some of the other LandIS web
mapping tools on offer.
If you have any problems or just need a hand getting to grips with the new interface,
drop us a line at nsridata@cranfield.ac.uk and we'll be pleased to help.
Creating new reports
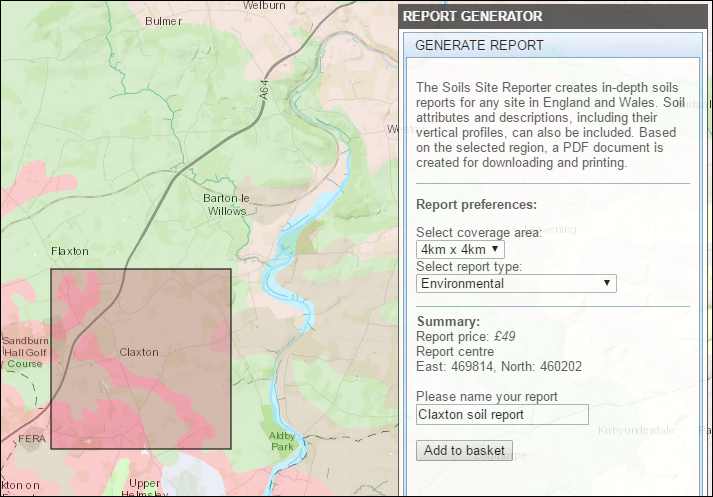
Ensuring the panel on the right is showing the GENERATE REPORT tab, select which size and also which type of report you'd like to create. As well as our full soil reports, we also offer a shorter environmental report and also a basic student report. Full details and examples of our various report types are available here http://www.landis.org.uk/services/sitereporter.cfm.
Navigate the main map to your area of interest using the mouse to drag the map around and the scroll wheel (or the + and − buttons in the top left of the map) to zoom in and out. When you have found your area of interest, simply click on the map once with your left mouse button and a red box will be drawn onto the map as shown in the example above. If you wish, you can now experiment with the coverage area selector to view the coverage of different report sizes on the map. As you change the report size and also the report type, you will see the report price will update accordingly in the Summary section. At any point, you can use the home button in the top left of the map to return the map to its original state, showing all of England and Wales.
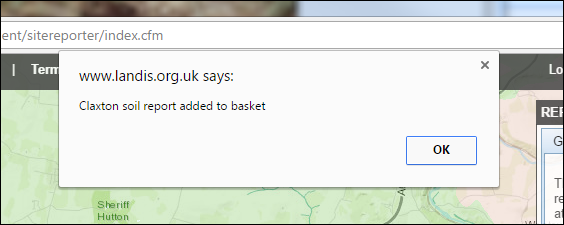
When you are happy with the coverage of your selected region, give your report a name in the box provided and press the Add to basket button. A confirmation message will tell you that your report has been successfully added to your basket. You may continue to add multiple reports to our basket in this way.
Viewing and modifying your basket
Selecting the BASKET CONTENTS tab in the right hand panel will reveal the contents of your basket.
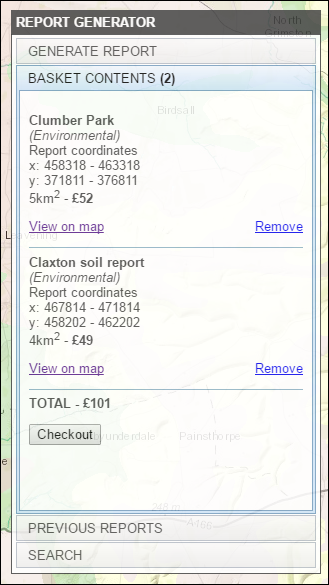
This will list the reports you have added so far along with some details on each report such as the report type, location, area covered and price. Clicking View on map for any of these reports will zoom the main map to the location of this report and highlight the area covered by the report once again. Clicking Remove will remove the report from your basket.
Checking out
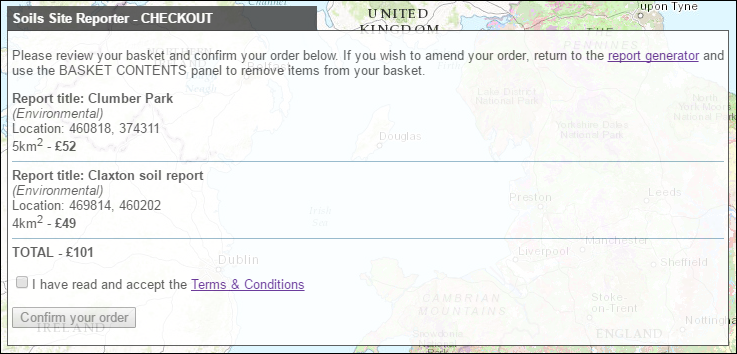
Once you are happy with the report(s) in your basket, press the Checkout button at the bottom of the BASKET CONTENTS panel. This will take you to the checkout page where you can review the contents of your basket one final time. If you wish to make any changes at this point, return to the main report generator page by either using the link provided on the checkout page or by using the Soils Site Reporter home link in the main navigation bar at the top of the page.
Once you have read our Terms and Conditions, click the box to acknowledge this and then press the Confirm your order button. For users that have an account with us or that are entitled to free reports, your order will now be complete and your report(s) will be emailed to you shortly. If you have any reports in your basket that need to be paid for, you will be provided with a Proceed to secure payment button. This will take you to WorldPay, our secure payment provider. Following successful payment, your report(s) will be emailed to you shortly.